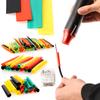
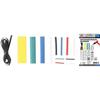
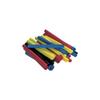
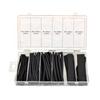
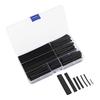
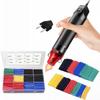
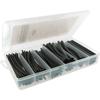
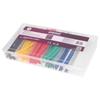
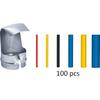
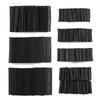
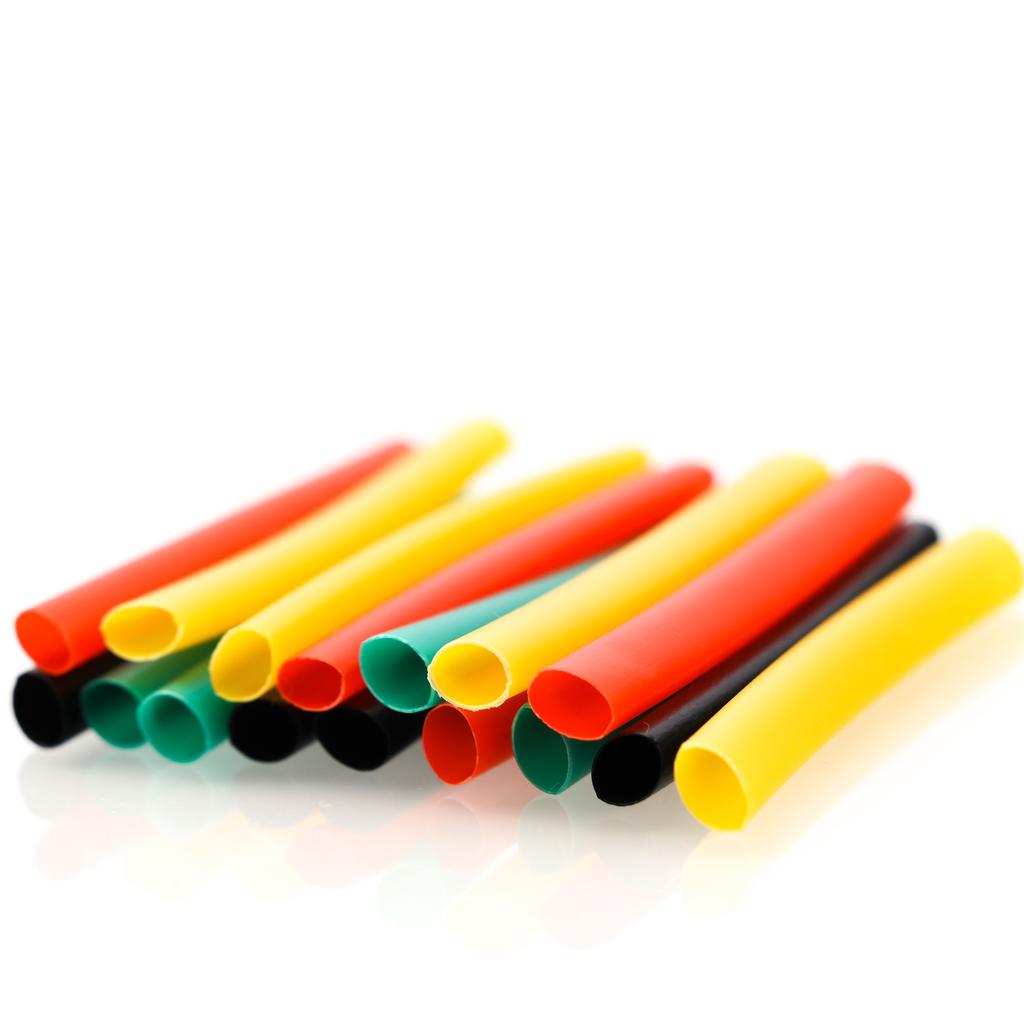
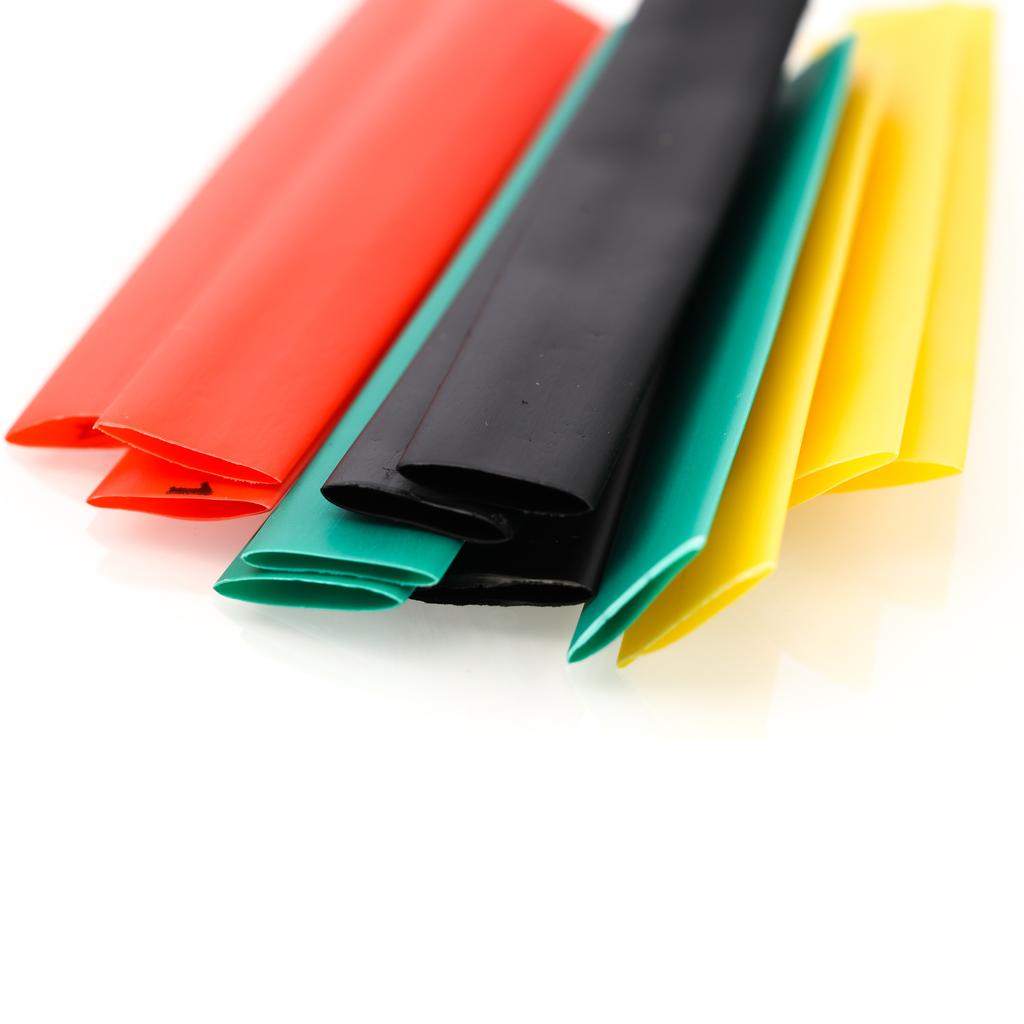
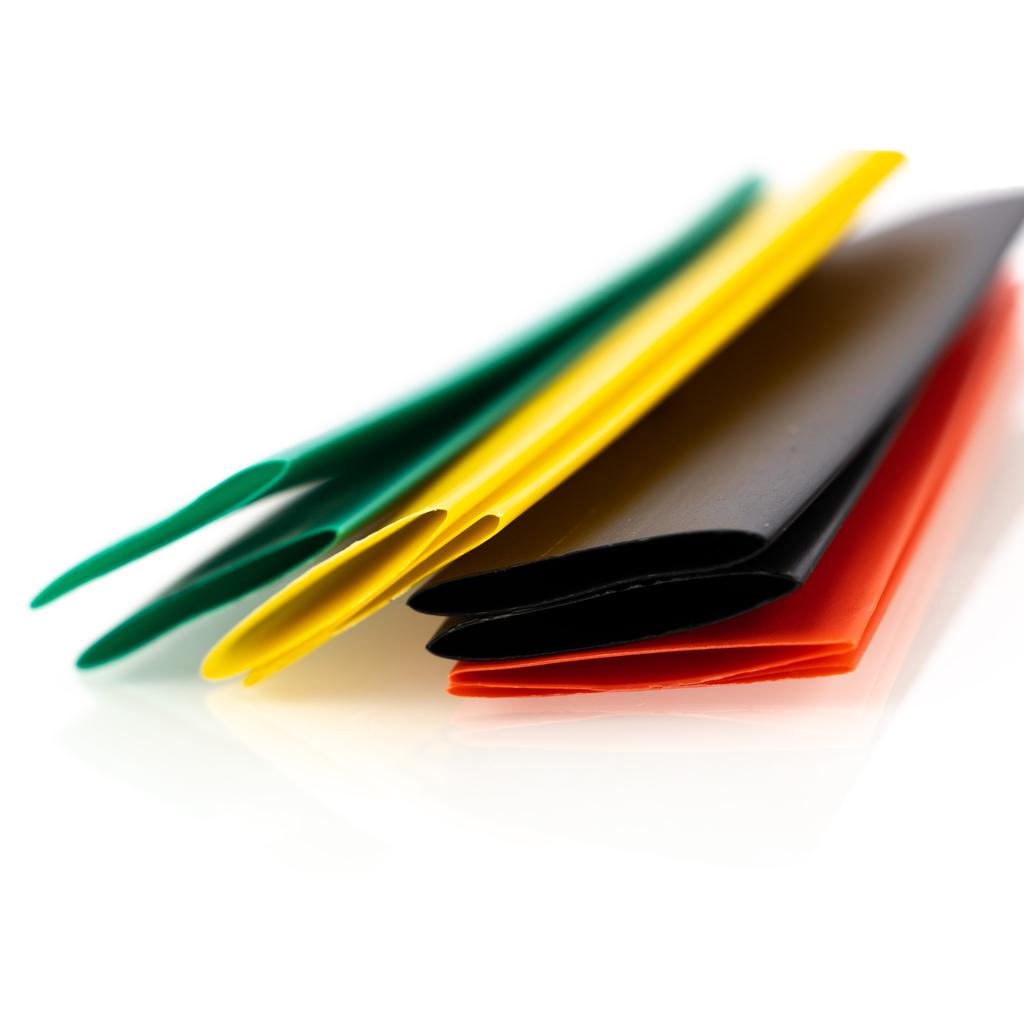
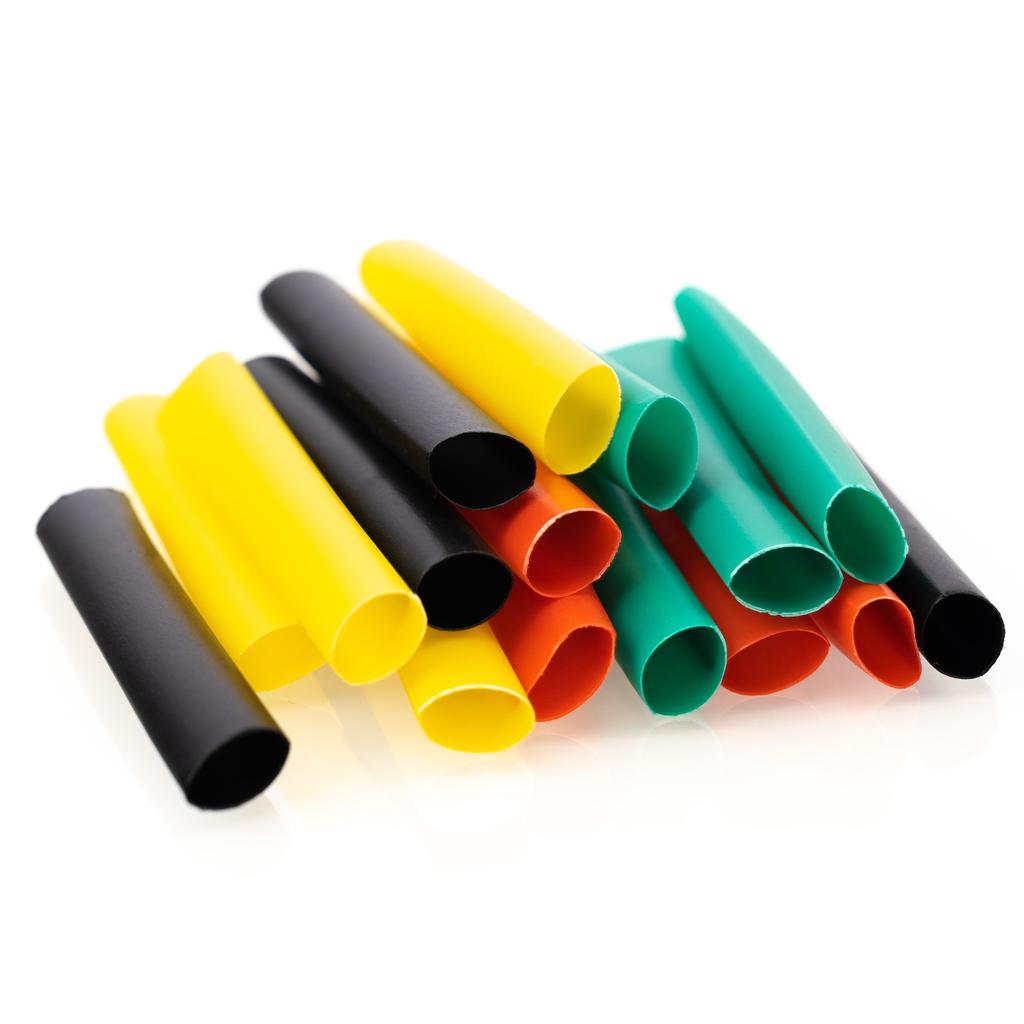
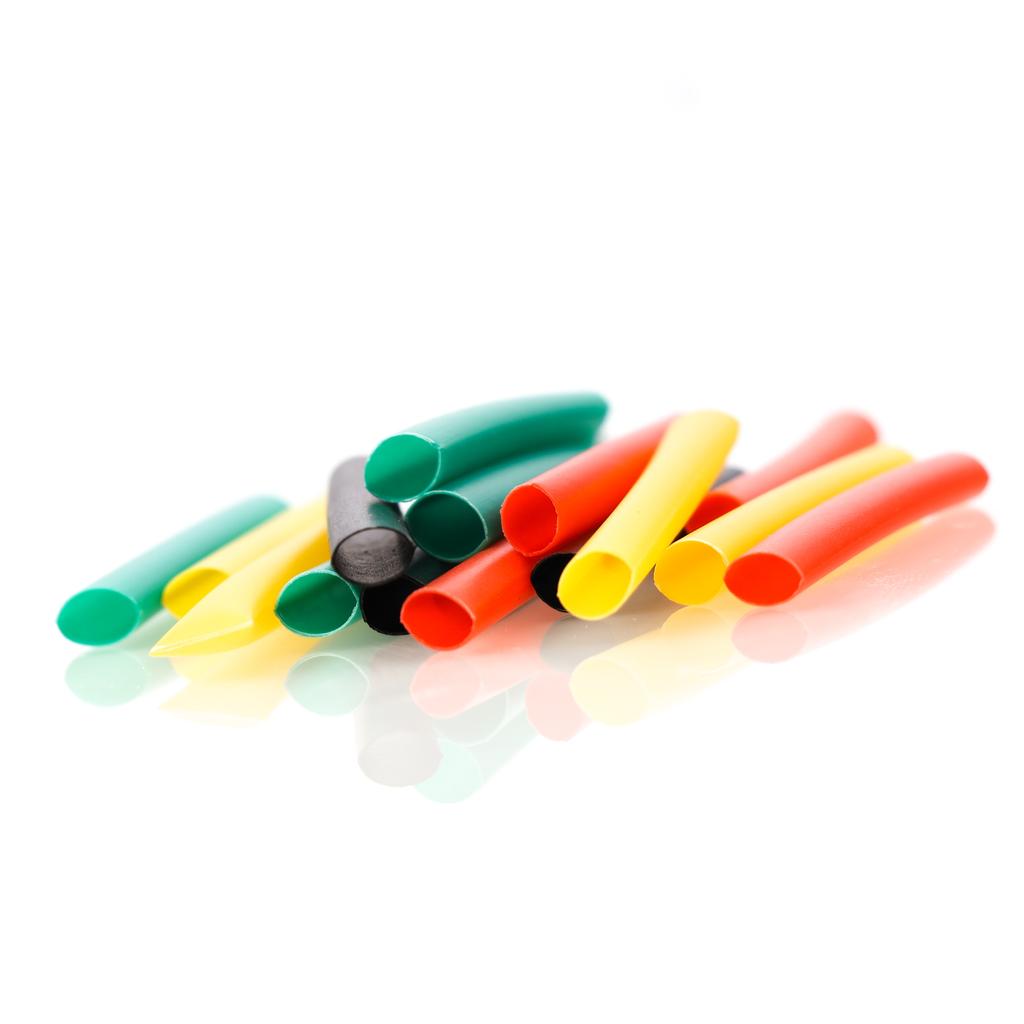
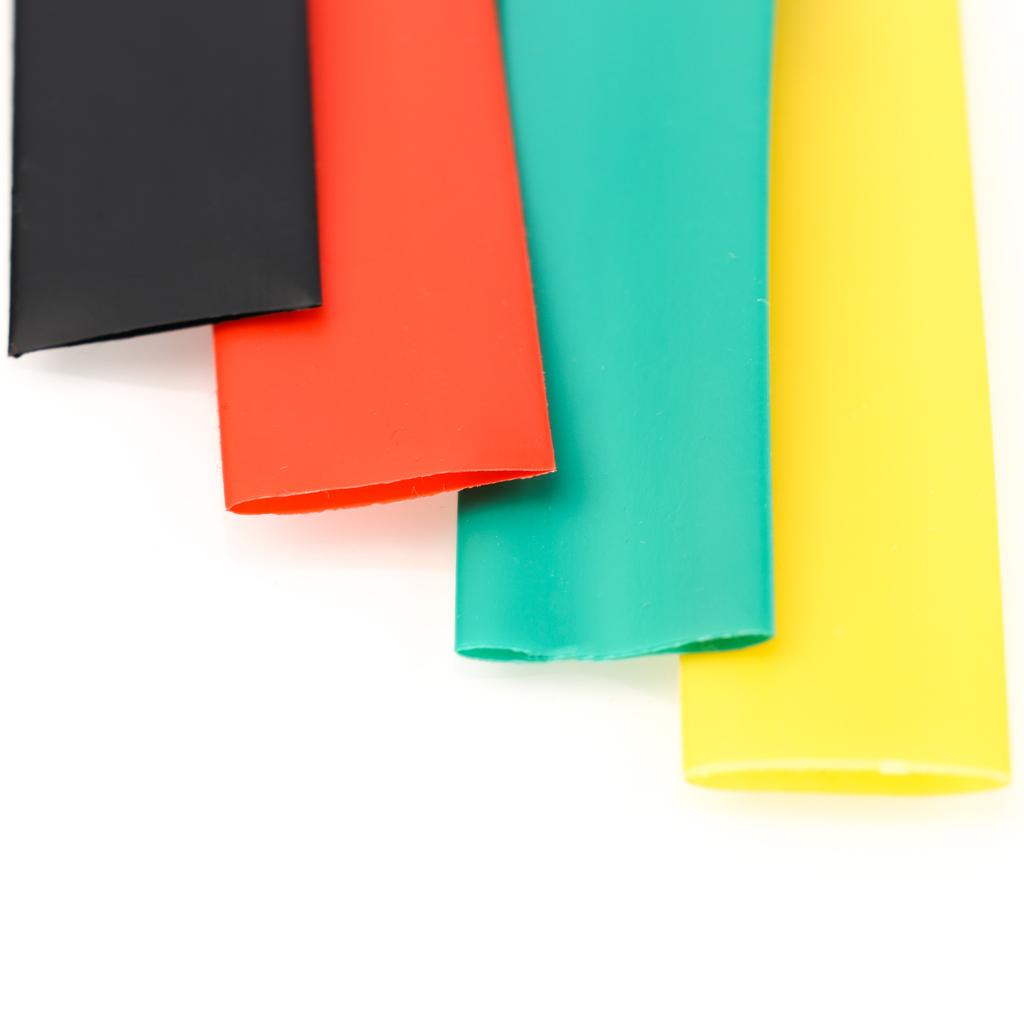
Rosfix Heat Shrink Tubing Set 164 pcs Rosfix Heat Shrink Tubing Set: Your Support in Professional Insulation and Protection! If you're looking for a reliable tool for insulating, protecting, and securing wires and connections, the Rosfix Heat Shrink Tubing Set with 164 pieces is an excellent choice. This complete set offers a wide selection of heat shrink tubing sizes and colors that will provide excellent thermal and electrical insulation, as well as durable protection against moisture and damage. Key Benefits of the Rosfix Heat Shrink Tubing Kit: Versatile Applications: This kit addresses a variety of needs. It can be used to insulate electrical wires, joints, and splices, as well as to protect electronic components from moisture, dust, and vibration. Professional Insulation: Rosfix heat shrink tubing perfectly insulates wires and connections, minimizing the risk of short circuits and other problems. It creates an effective thermal and electrical barrier. Protection Against Moisture and Damage: Thanks to the ability to shrink with heat, the tubes create tight shields that effectively protect against moisture and mechanical damage. Easy Application: Heat shrink tubes are easy to use. After placing them on the wires or connections, simply apply heat (e.g., using a heat shrink gun) to shrink the tubes, creating a durable and tight shield. Various Sizes and Colors: The set includes various sizes of tubes, allowing you to match them to your different needs. Additionally, different tube colors make it easier to identify wires and connections. Professional Effects: Rosfix heat shrink tubing provides not only effective protection but also an aesthetically pleasing finish, which is important for professional applications. The heat gun is not included in the auction, but it is available in our other listings! Specification: 8 specifications, 5 colors, 164 pieces Supplied inner diameter: 1.0mm, 2.0mm, 3.0mm, 4.0mm,6.0mm, 8.0mm, 10.0mm, 14.0mm Material: Polyolefin Shrinkage ratio: 2:1 (will maximum shrink to 1/2 supplied diameter) Operating Temperature: from -55°C to +125°C Minimum Shrinkage Temperature: +70°C Full Shrinkage Temperature: maximum +110°C Tensile Strength: 10.4 Mpa Dielectric Strength: 15 kV/mm Included: 60pcs x φ1.0x40mm (yellow, black, red, green) 30pcs x φ2.0x40mm (yellow, black, red, blue) 16pcs x φ3.0x40mm (yellow, black, red, green) 16pcs x φ4.0x40mm (yellow, black, red, blue) 16pcs x φ6.0x40mm (yellow, black, red, green) 10pcs x φ8.0x80mm (yellow, black, red, blue) 8pcs x φ10.0x80mm (yellow, black, red, green) 8pcs x φ14.0x80mm (yellow, black, red, blue) The Rosfix Heat Shrink Tubing Set with 164 pieces is an extremely versatile tool that finds a wide range of applications in various fields. Here are some examples of how these heat shrink tubing can be used: Electrical and Electronics: Heat shrink tubing is ideal for insulating and protecting electrical wires, joints, and connections. They protect against dust, moisture, and mechanical damage, while also minimizing the risk of short circuits. Technical Repairs: When repairing electronics, household appliances, or electrical devices, heat shrink tubing can be used to renew wire insulation or secure connections. Automotive: In the automotive industry, heat shrink tubing is used to insulate and protect wires in cars, motorcycles, and other vehicles. They protect against moisture and corrosion. DIY Projects: Those passionate about DIY can use heat shrink tubing to create professional insulation for their projects, such as building models, electronic circuits, etc. Markings and Color Codes: Different colors of heat shrink tubing can be used to mark wires or connections, making identification and maintenance easier. Protecting Electronic Components: Heat shrink tubing can be used to protect delicate electronic components such as diodes, capacitors, and microswitches. Insulating Water Lines: In some applications, heat shrink tubing can be used to insulate water lines or pipes, providing protection against corrosion and moisture. Creating Seals: Heat shrink tubing can be used to create seals in a variety of applications, such as insulating pipe joints in water or gas systems. Workshop Work: In mechanical, electrical, and technical workshops, heat shrink tubing is widely used for repairs and maintenance. Emergency Repairs: In emergency situations or in the field, heat shrink tubing can help quickly secure damaged wires or connections. Installing heat shrink tubing is a relatively simple process , but it requires certain steps to achieve permanent and effective protection of wires or connections. Below you'll find step-by-step instructions on how to properly install heat shrink tubing: Preparing Materials: Make sure you have all the necessary tools and materials. You'll need the appropriate size heat shrink tubing, a heat shrink gun or other heat source, and the wires or components you want to insulate or protect. Preparing the Wires: If you're protecting wires, make sure they are clean and dry. You can also slit the wire insulation to prepare them for the tubing. Selecting the Tubing Size: Choose the appropriate heat shrink tubing that matches the diameter of the wires or components you're protecting. Remember that the tubing should be slightly larger than the wire to ensure a perfect fit after shrinking. Tube Placement: Slide the heat shrink tubing over the wire or component you want to protect. Make sure the tubing is positioned properly and covers the entire length of the area you want to insulate. Heat Application: Aim a heat source (heat shrink gun, hair dryer) at the heat shrink tubing. Remember to keep the heat source away from the tubing and avoid heating any one spot for too long to avoid overheating. Observe Shrinkage: The heat shrink tubing will gradually shrink when exposed to heat. Observe this process to ensure the tubing shrinks evenly and adheres to the wire or component. Shrink Thoroughly: Make sure the heat shrink tubing fits snugly around the wire and covers the entire area to be protected. Some tubing will reduce its length by as much as half. Cool Down: After thoroughly shrinking the tubing, allow the wire or component to cool. Make sure the tubing is completely cool before proceeding. Condition Assessment: Check that the heat shrink tubing is installed correctly and has provided permanent insulation or protection. Make sure there are no damages or imperfections. Repeat (optional): If you are protecting multiple wires or components, repeat the same steps for each one.


 No-delivery refund