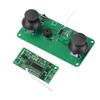
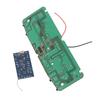
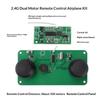
Quantity : 1
High-concerned chemical : none
Package : SOP
is_d : Yes
Supply Voltage : DC 3-5V
Application : Electric Toy
Type : Module
Origin : Mainland China
Condition : New
Operating Temperature : 0-50C
1. Ideal for DIY construction of remote-controlled aircraft, fixed-wing gliders, etc.
2. Stable operation up to 100 meters in open environments; reliable control in complex scenarios
3. Flight controller board delivers up to 4A drive current per channel
4. Safe operation with DC 3-5V power supply, compatible with mainstream batteries
5. Power indicator light with buzzer ensures safe and reliable usage
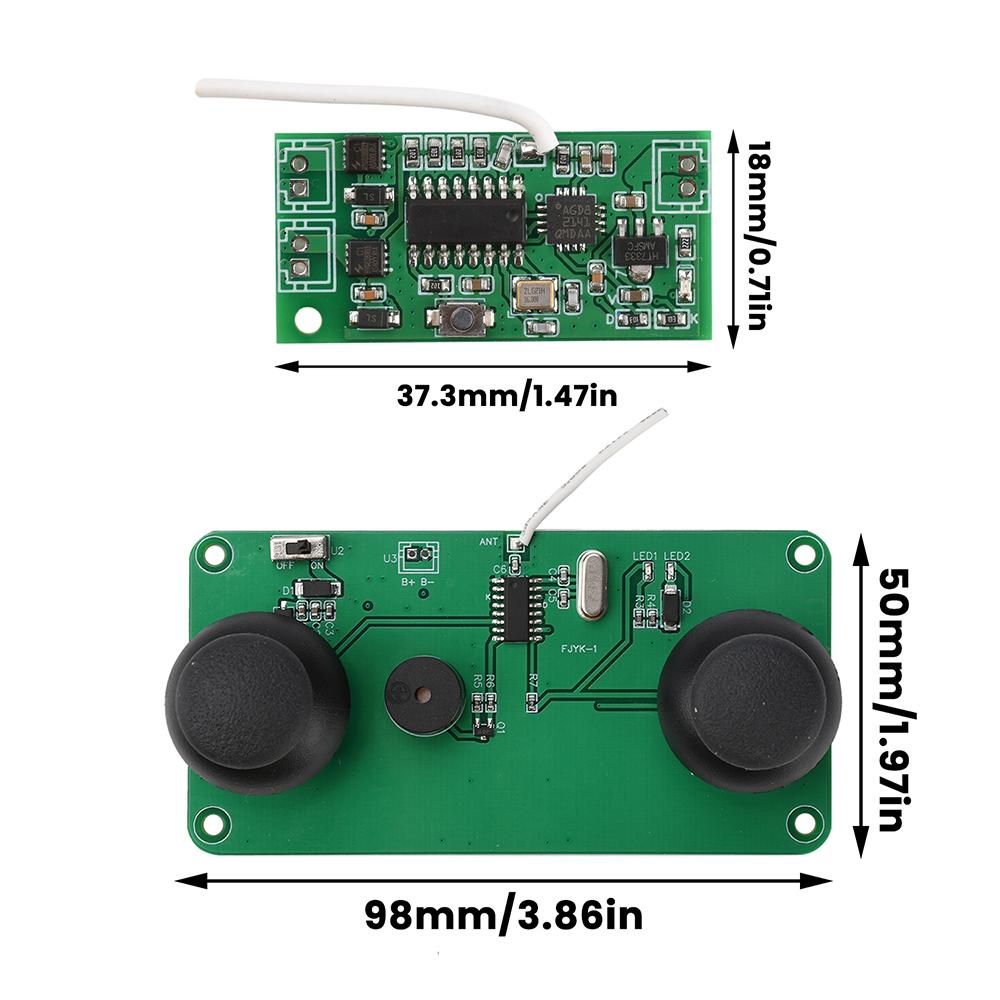
Remote Control Board Voltage: DC 3-5V
Flight Controller Board Voltage: DC 3.7V
Flight Controller Board Drive Current: ≤4A per channel
Remote Control Range: Approximately 100 meters
Product Introduction
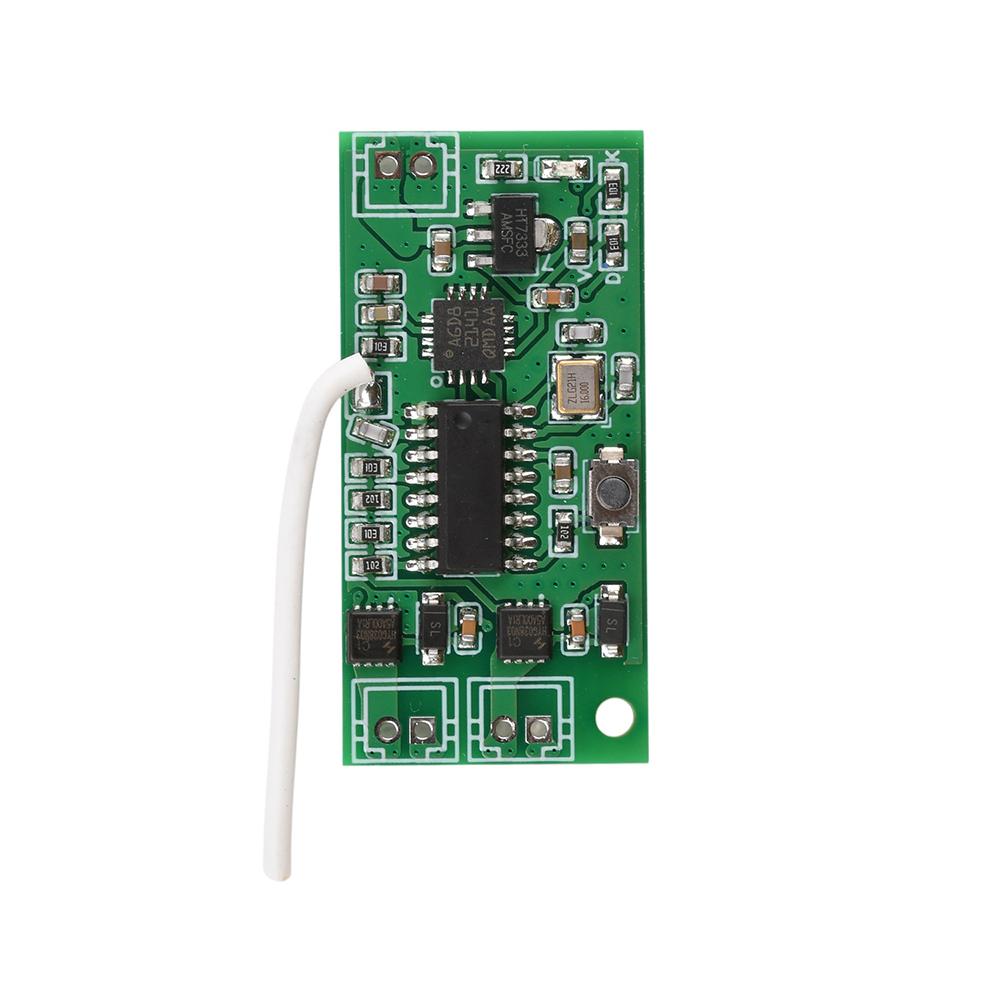
This kit's flight controller board delivers up to 4A drive current per channel, suitable for most brushed RC motors such as hollow-cup 412, 612, 716, 720, 816, 8520, 1020, and standard brushed motors like N20, N30, N50. Equipped with a gyroscope for stable flight and easy control, its simple wiring makes it ideal for DIY projects.
Remote Control Pairing
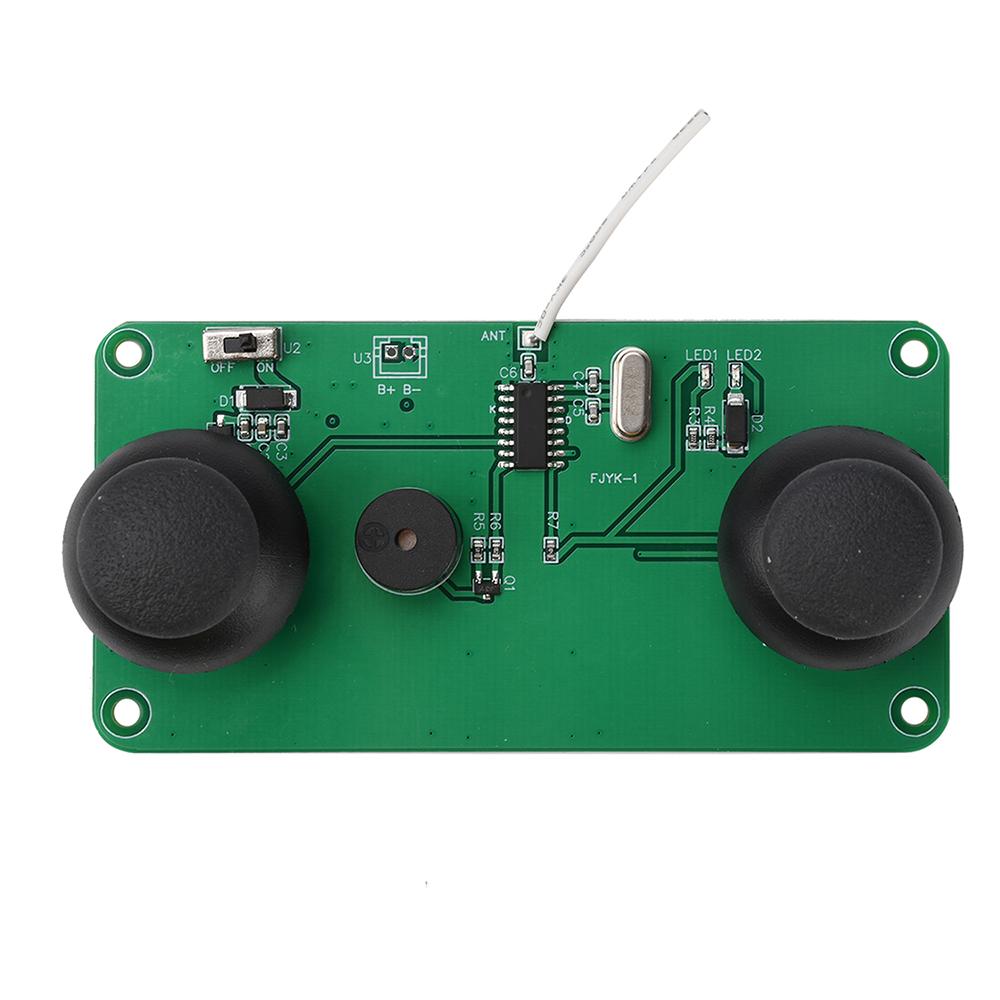
When the flight controller power is turned on, its indicator light flashes. Turn on the remote control power: LED1 stays on, LED2 flashes, and the buzzer emits a prompt tone. After 2 seconds, pairing begins automatically. Once pairing is successful, the flight controller indicator light stays on. Quickly push the throttle up and pull it down; if LED2 on the remote control stays on, you can now control the aircraft. To pair the flight controller with a different remote control, press the small button on the board once to complete pairing.
Testing Correct Flight Controller Installation
1. Throttle up to check if both motors' propellers blow air backward. If not, swap the two wires connected to each motor.
2. Throttle up slightly and move the left/right control stick. When turning left, the right motor should accelerate; when turning right, the left motor should accelerate.
3. Hold the aircraft nose forward horizontally. Apply slight throttle and rotate the aircraft left/right around your body as the axis. When turning left, the left motor automatically increases power; when turning right, the right motor automatically increases power. This is the gyro's self-adjustment function. When installing the flight controller board, ensure the component side faces downward. Otherwise, the gyro stabilization will backfire.
When selecting the flight controller battery, choose based on the operating current of the dual motors. Ensure sufficient capacity and discharge rate for normal operation.
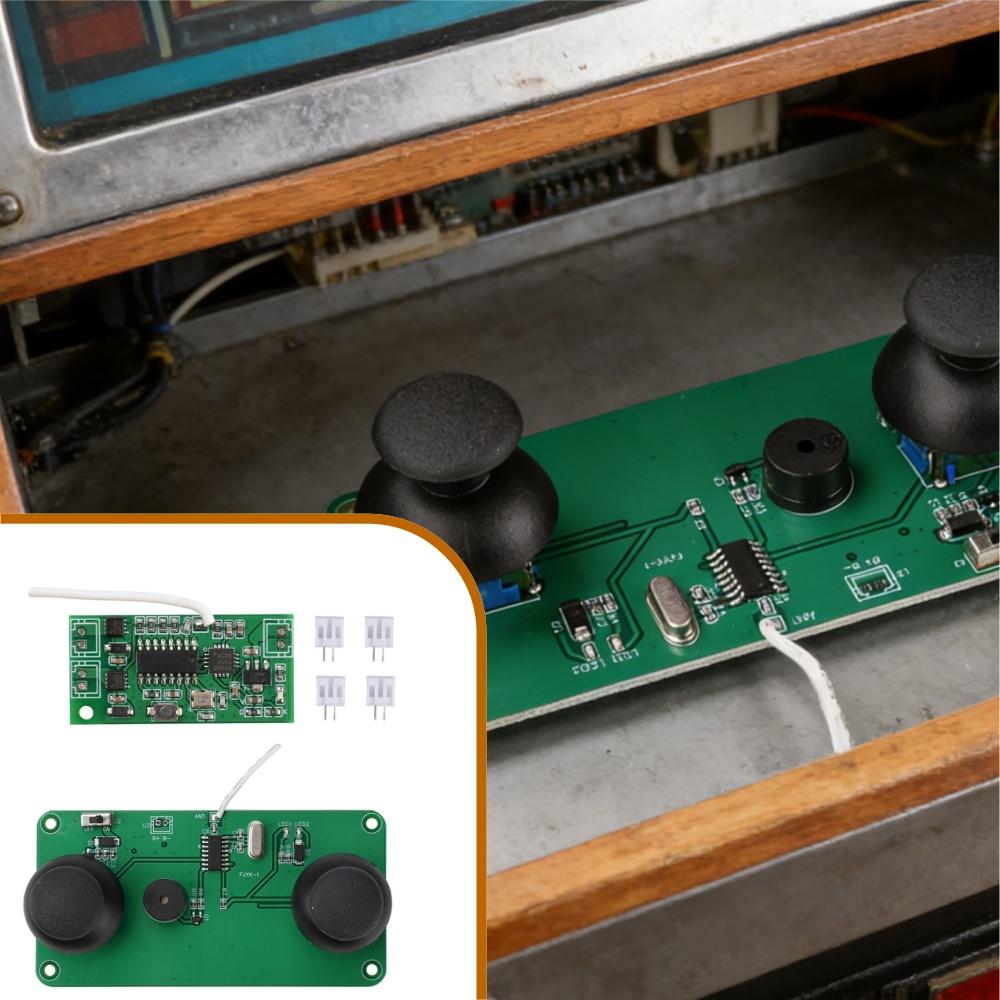
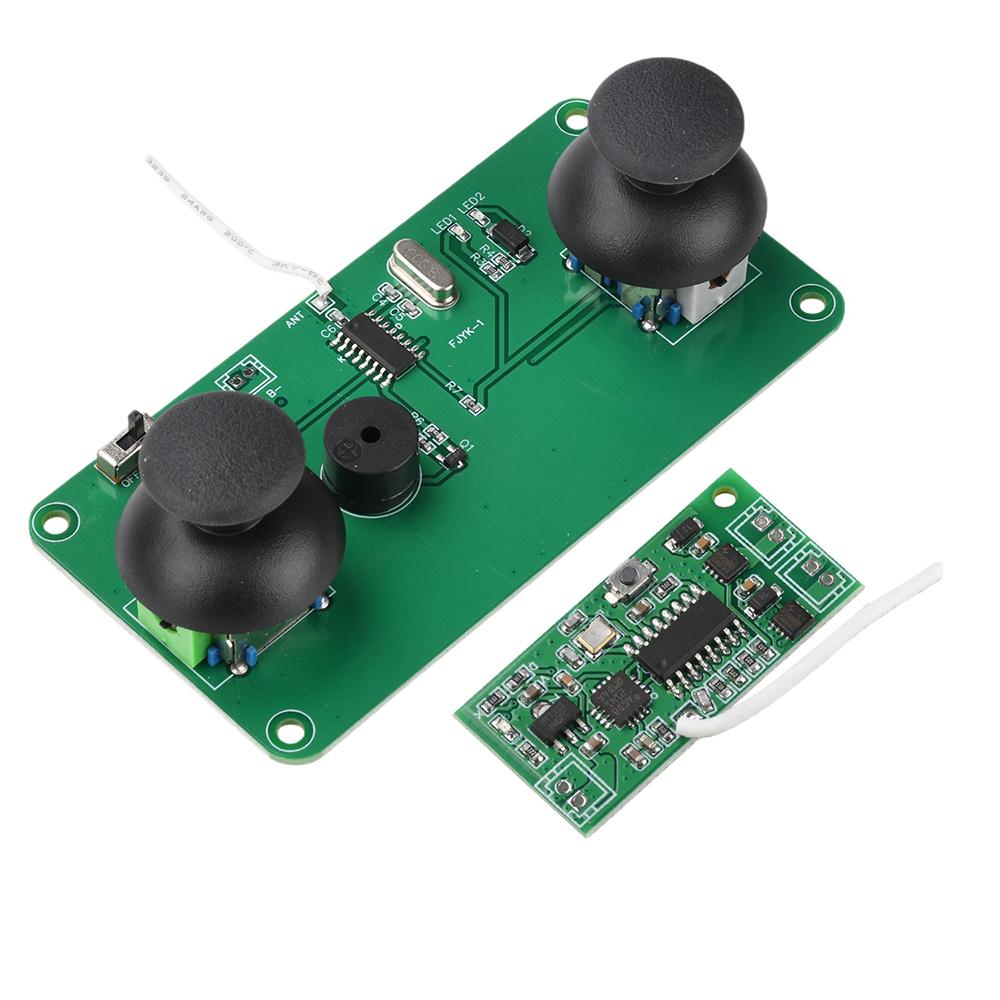
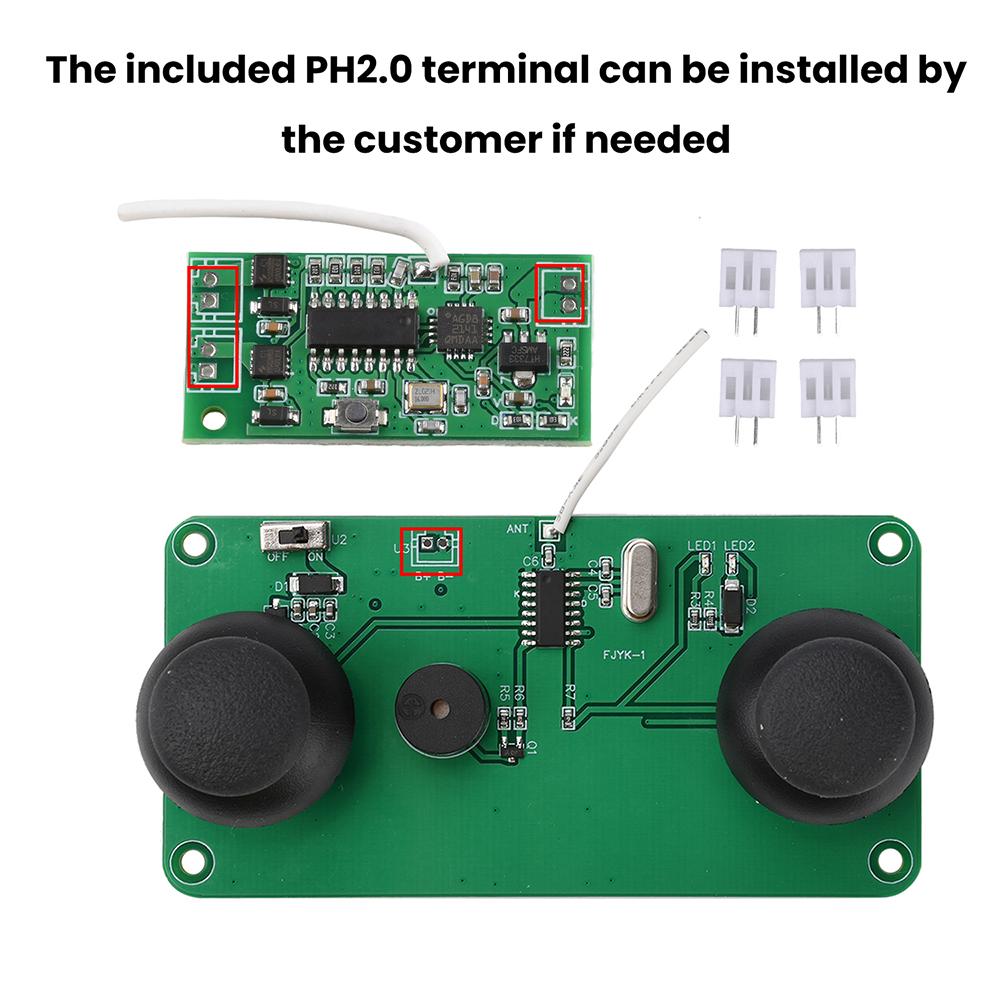
Remote Controller *1
Flight Controller Board *1
PH2.0 Terminals *4
label:yes



 Geld zurück bei Nichtlieferung