Good luck with your favorite purchases
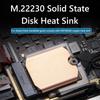
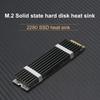
Copper Heat Cooler Radiator with Thermal Silicone Pad SSD Cooling Heat Sink Game Console Accessories for Steam Deck M.2 2230 SSD
Feature:
1. High Thermal Conductivity Copper Heatsink Kit:The heatsink kit is specifically designed for Steam Deck handheld gaming consoles, ensuring precise dimensions, preventing installation deviations, and short circuits.
2. Premium Material:Made of high thermal conductivity copper material with a rating of 401W/(m.k), chemically polished to prevent burrs and short circuits. The heatsink undergoes multiple milling processes to resist oxidation, ensuring it does not rust or corrode, making it more durable than regular copper sheets.
3. Included Thermal Conductive Silicone Pads:The soft and flexible thermal conductive silicone grease, paired with high-performance 5W/m.K thermal conductive silicone pads, ensures a tight fit with electronic components' surfaces. It can also fill gaps between hard disk particles, maintaining a consistent height for the heatsink, facilitating rapid heat dissipation and extending the lifespan of the hard drive.
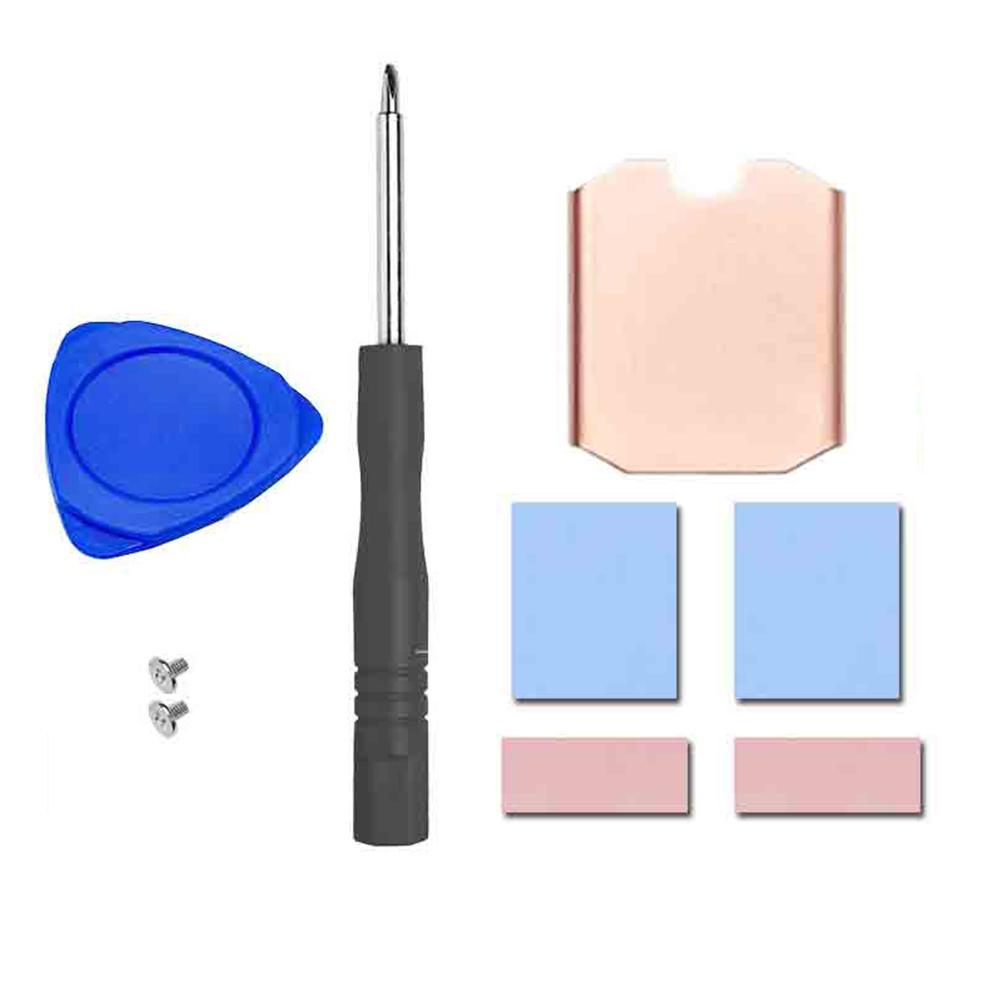
4. Package Contents:Includes 0.5mm copper sheet *1, M2 screws *2, thermal conductive silicone pads *4, screwdriver *1, and heat spreader *1. The package provides all the necessary components for easy installation of the heatsink kit.
5. Enhanced Cooling Performance:The combination of the high thermal conductivity copper heatsink and the thermal conductive silicone pads optimizes heat transfer, effectively reducing the temperature of electronic components. This ensures improved cooling performance, safeguarding the longevity and reliability of the gaming console.
Specification:
Origin: Mainland China
Material: silicon, copper, metal, etc
Applicable to: for Steam Deck 2230 NVME Solid-state drive
Size: About 26x23x0.5mm/1.02x0.90x0.01inch
Weight: 15g
Hard disk cooling installation tutorial:
1. Turn off the game console. Turn off the power of the game console and unplug all cables before replacing the hard drive.
2. Remove the eight screws on the back of the game console. 1. Use a Phillips screwdriver to remove the 8 screws that secure the rear cover. 4 9.5MM screws, 4 5.8MM screws; 2. Keep the screws well during replacement to prevent loss
3. Pry open the rear cover. 1. Insert a wedge along the edge of the right grip in the fine seam between the back cover and front shell; 2. Pry up the rear cover with a lifting blade to release the clips
4. Remove the protective plate. 1. Use a Phillips screwdriver to unscrew three screws that secure the protective plate, one 3.4mm screw and two 3.7mm screws; 2. Remove the protective plate after removing the screws
5. Remove the Solid-state drive. 1. Use a Phillips screwdriver to unscrew the screws that secure the SSD; 2. Remove the fixing screws and unplug the hard drive
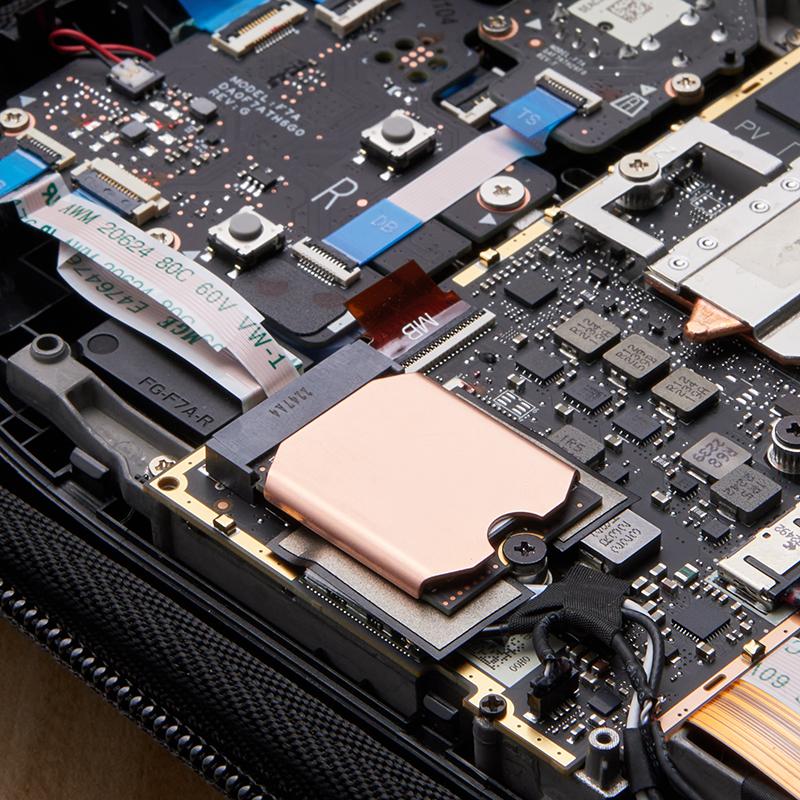
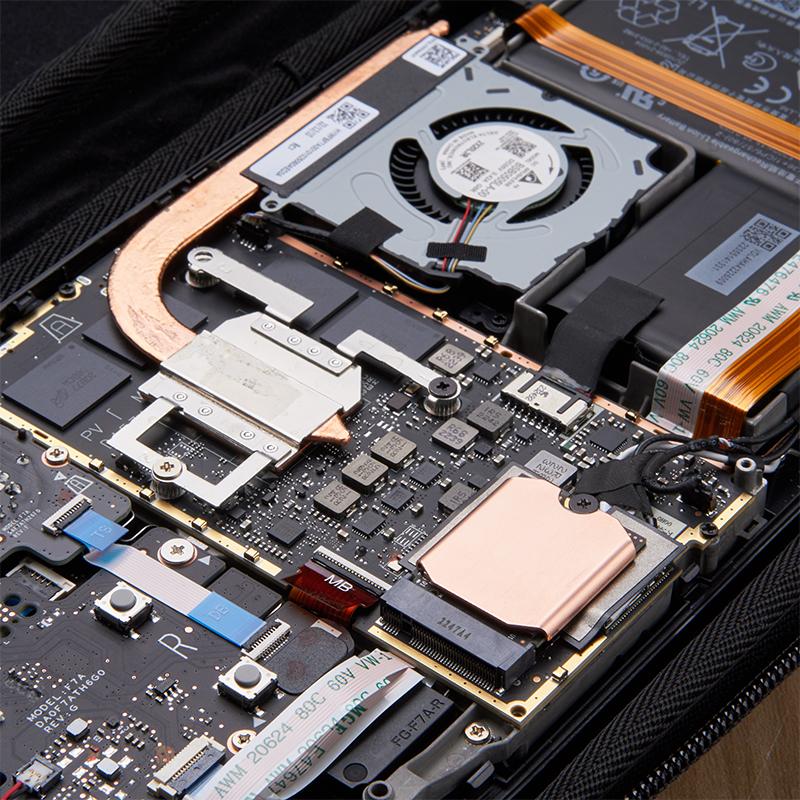
6. Install the heat sink 1. Tear off the protective film of the heat sink; 2. Tear off the protective film of the thermal conductive tape and apply it to the surface of the hard disk particles as shown in the picture; 3. Align the heat sink with the hard drive and press it into the heat sink slot
7. Install the Solid-state drive. Insert the Solid-state drive with the heat sink back into the slot and tighten the screws
8. Replace the protective cover plate. After installing the hard drive, align the protective cover with the screw holes on the body and replace it
9. Install the protective cover. Replace the three fixing screws and secure the protective cover
10. Replace the eight screws on the back of the game console. 1. Clip the rear cover buckle into the body; 2. Install the body screws to secure the back cover, and the installation is complete
Note:
Due to the different monitor and light effect, the actual color of the item might be slightly different from the color showed on the pictures. Thank you!
Please allow 1-2cm measuring deviation due to manual measurement.
1 * Copper sheet
2 * M2 screw
4 * Thermal conductive silicone sheet
1 * Screwdriver
1 * Tipping piece